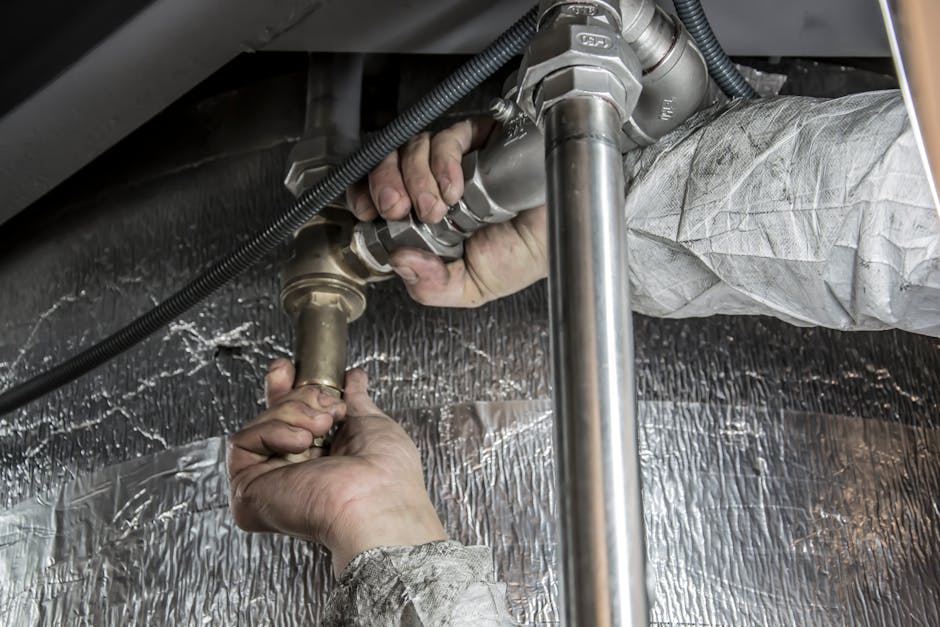
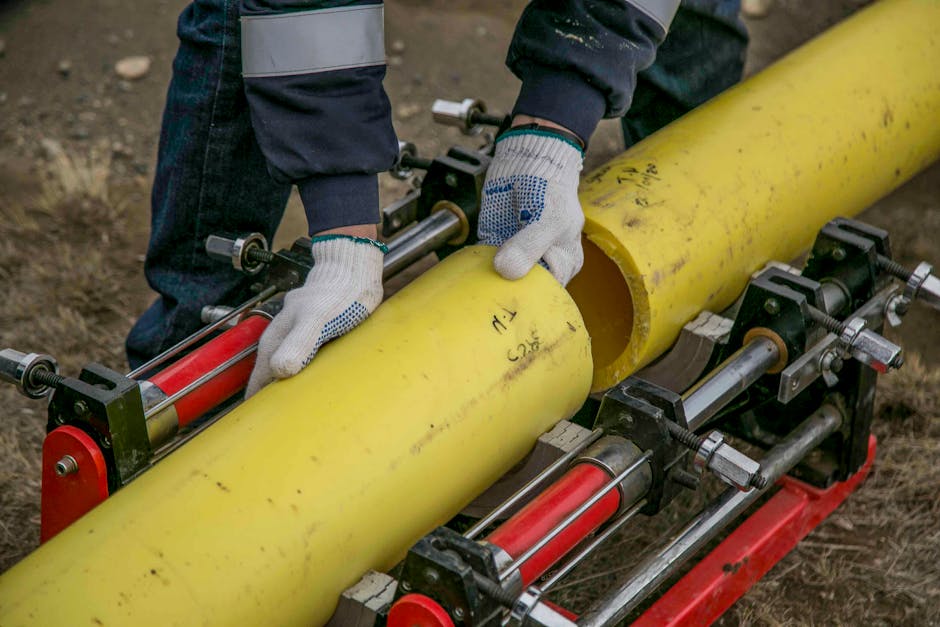
Plumbing
By James Caldwell
·
2026-04-22
·
5 min read

Six pricing patterns that signal a markup, and the questions that get an honest quote.
Plumbing is the trade with the least price transparency. Same job, same parts, two plumbers in the same ZIP can quote prices 2x apart. Here's how to spot which one is gouging.
Red flag 1: No flat-rate quote
Reputable plumbers can quote a fixed price for any standard job before they touch the wrench. "I won't know until I'm in there" is sometimes legitimate (slab leaks, mystery clogs) but is also the favorite phrase of hourly-padding plumbers.
Red flag 2: "Service call" plus hourly
$150 trip charge + $200/hour + parts at retail markup = the trip becomes the bait. Real flat-rate plumbers either waive the service call when work is performed or include it in the flat-rate quote.
Red flag 3: Parts at 200%+ markup
A $30 toilet flush valve becoming a $90 line item. Some markup is fair (15–40%) but 200%+ is gouging. Ask for the part SKU and check it online.
Red flag 4: Pressure to upgrade
"Your whole water heater needs replacement" when the issue is a $25 thermocouple. "Your whole drain line" when a snake would clear it. Get a second opinion on any quote over $1,500.
Red flag 5: "Emergency rate" at 11am Tuesday
Real emergency rates apply after-hours, weekends, and holidays. During business hours, the rate should be standard.
Red flag 6: Demand for cash payment, no receipt
Tax evasion on the plumber's side and zero recourse on yours if the work fails. Always insist on a written invoice and check/credit card payment.
How to get an honest quote
- Describe the symptom in detail when calling
- Ask for a flat-rate quote before they arrive
- Ask "what's your hourly rate if it's complex" as a backup
- Get a second quote on any job >$800
Plumbing
By Marcus Chen
·
2026-04-19
·
5 min read
How to find hidden leaks before they show up as $700 water bills.
The average household leak wastes 10,000 gallons per year — about $90–$140 on the bill. Hidden leaks are worse: a slab leak or in-wall leak can cost $5,000–$30,000 in damage. These five tests find them in under 5 minutes.
Test 1: The water meter test
Turn off all water inside (no toilets running, no dishwashers, etc.). Read the water meter. Wait 30 minutes with no usage. Read again. Any change = active leak.
Test 2: Toilet dye test
Add 5–10 drops of food coloring to the tank. Wait 15 minutes without flushing. If color appears in the bowl → flapper or flush valve leak. Cost to fix: $25 in parts, 20 minutes.
Test 3: Hot water heater drain check
Look at the floor under the water heater. Any rust, white mineral deposits, or moisture = anode rod failing or tank corrosion starting. Replace anode rod every 5–7 years for $40 in parts.
Test 4: Under-sink visual
Open every cabinet under every sink. Look for water stains, white deposits, swollen MDF/particleboard. Common leak points: P-trap connections, shutoff valves, supply lines.
Test 5: Outdoor hose-bib check
In freeze-prone climates, hose bibs left with hose attached over winter often crack inside the wall. Symptom: when you turn on the bib, water leaks behind it. Heard inside the basement.
Hidden leak warning signs
- Mysterious warm spot on a tile or vinyl floor (slab leak)
- Water bill jumping >15% with same usage
- Mildew smell in a specific corner of a room
- Paint bubbling or peeling on baseboards
- Outside walls with green or moss-stained patches
Any one of these = call a plumber within a week.
Plumbing
By Tom O'Connell
·
2026-04-15
·
5 min read
The clear line between weekend-DIY plumbing and emergency-only-pros.
Many plumbing repairs are well within DIY range. Others will cost you 5x more if you try. Here's the line.
Confidently DIY
- Replacing a toilet flush valve / flapper
- Replacing a faucet (if you have a basin wrench)
- Replacing a showerhead
- Replacing a toilet seat
- Cleaning a P-trap (sink drain odor / clog)
- Snaking a single drain (toilet, sink, shower)
- Caulking around fixtures
- Replacing a hose bib (if accessible from outside)
- Replacing a sink stopper assembly
- Replacing a shutoff valve under a sink (if accessible)
Probably DIY with research
- Replacing a toilet (entire fixture)
- Replacing a garbage disposal
- Replacing a water heater anode rod
- Adding a water shutoff valve
- Sweat-soldering a small copper repair
Always call a plumber
- Anything inside a wall
- Anything in the slab
- Sewer line issues (mainline clog, sewage backup)
- Gas line work (illegal for non-licensed in most states)
- Tankless water heater repair (specialized)
- Water heater replacement (gas or electric)
- Sump pump replacement during active flooding
- Re-piping any portion of the home
- Anything that requires a permit
The cost-of-mistake test
"If I get this wrong, what's the worst-case cost?" Replacing a toilet wrong = wet floor and a re-do. Replacing a water heater wrong = explosion or carbon monoxide. The first is fine to try; the second isn't.
The license test
If your jurisdiction requires a permit for the work, that's a tell that it has safety implications and pros are recommended. Permit-required plumbing isn't usually DIY territory.
Plumbing
By Linda Martin
·
2026-04-11
·
5 min read
Why what's behind your walls matters — and which pipe types should be replaced soon.
Most homeowners never think about pipe material until something fails. By then it's expensive. Here's what's behind your walls and what to do about each.
Polybutylene (1978–1995)
Gray plastic pipe with metal fittings. Used widely in 70s–90s construction. Class-action lawsuits exposed catastrophic failure mode: chlorinated water + metal fittings react and cause sudden failure inside walls. Replace ASAP if your home has it. Estimated $5,000–$15,000 to repipe.
Galvanized steel (pre-1960)
Threaded steel pipe with zinc coating. Corrodes from inside out. Symptoms: low water pressure, brown/orange water, pinhole leaks. Lifespan: 50 years (already past for most). Lead in the zinc coating is a drinking water concern. Replace within 5 years if budget allows.
Copper (1960–today)
Type L (thicker walls) is the highest-quality residential pipe. Type M (thinner) is more common in newer builds. Lifespan: 50–80 years. Failure modes: pinhole leaks from acidic water, blue-green corrosion, freeze damage if uninsulated. Generally replace only when failing.
CPVC (1980s–today)
Tan/cream-colored plastic. Lifespan: 50+ years. Cheaper than copper. Brittle when old or cold — cracks under impact. Acceptable, but PEX is preferred for new work.
PEX (2000s–today)
Flexible plastic in red (hot) and blue (cold). Lifespan: 50+ years. Resistant to freezing (expands instead of cracking). Easy to install (crimp or expansion fittings). The current standard for new construction and re-pipes.
How to identify what you have
- Look at exposed pipes in basement, crawlspace, or under sinks
- Gray plastic = polybutylene (replace urgently)
- Steel with threaded fittings = galvanized (replace soon)
- Reddish/brown smooth metal = copper
- Tan/cream rigid plastic = CPVC
- Red and blue flexible plastic = PEX
Plumbing
By Sara Whitfield
·
2026-04-07
·
5 min read

Six high-impact water-saving moves that pay back inside 90 days.
Most U.S. households use 60–100 gallons per person per day. With small fixes, that drops 25%+ — saving $300–$700 per year for a family of four. Here are the high-impact moves.
1. Install 1.5 GPM showerheads ($15 each)
Old showerheads run 4–5 GPM. Modern 1.5 GPM showerheads (with quality aerators) feel similar but use 60% less water. The biggest single fixture upgrade. Payback: 6 weeks for a family of four.
2. Fix every toilet flapper ($5)
A leaking flapper wastes 200+ gallons per day silently. Dye-test every toilet (drops of food coloring in tank, wait 15 min, check bowl). Replace any leaking flapper for $5 in parts.
3. Install dual-flush conversion kits ($35)
Adds dual-flush handles to existing toilets. Saves ~30% on toilet water (7–10 gallons per person per day).
4. Aerators on every faucet ($3 each)
Modern 1.0–1.5 GPM aerators use 50% less water. Bathroom aerators should be 0.5 GPM. Total cost: $20 for a whole house.
5. Hot water recirculation pump (DIY $120)
Tired of running cold water waiting for hot? Recirc pumps (Watts Premier or Grundfos) push hot water to fixtures on demand. Saves 8,000–14,000 gallons/year per household.
6. Catch shower warm-up water
Put a 1-gallon jug under the shower while waiting for hot water. Use to flush toilets or water plants. Saves ~5 gallons per shower x 4 people = 600 gallons/month.
Outdoor moves
- Drip irrigation instead of spray (40% reduction)
- Soil moisture sensor on automatic systems ($30, saves 30%+)
- Lawn watering only at 5–8 AM or 8–10 PM (less evaporation)
Plumbing
By Marcus Chen
·
2026-04-03
·
5 min read
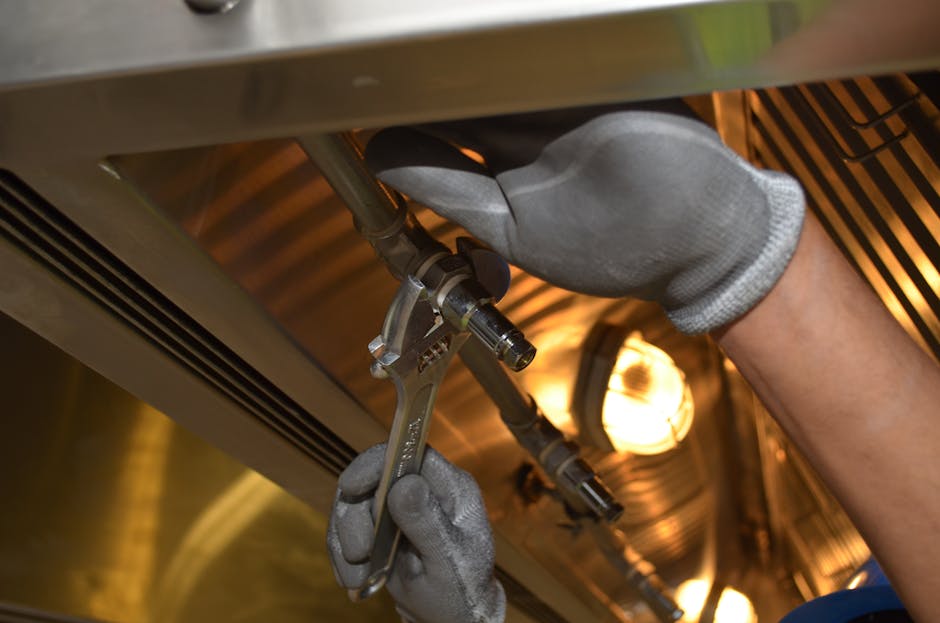
Liquid cleaners damage pipes long-term. Here's when each tool actually works.
Liquid drain cleaners (Drano, Liquid Plumr) are convenient — and slowly destroy your plumbing. Here's how to actually clear clogs without paying $200 for a plumber visit.
Why chemical drain cleaners are bad
- Caustic enough to soften old PVC and corrode metal pipes
- Heat up to 100°F+ in the pipe — can melt or warp plastic
- If the clog doesn't clear, the chemical sits in the pipe and continues damage
- Hazardous to handle, eyes, skin
- Often don't work on hair clogs (the most common cause)
Tool 1: Plunger ($10)
For toilets and sinks. Toilet flange plungers (with the cup extension) are dramatically more effective than flat plungers. Get a real one.
Tool 2: Hand auger / drum snake ($30)
The single best DIY tool for hair-clogged showers and sinks. 25-ft cable with a corkscrew tip. Feed it in, crank, pull out the clog. Reusable for a lifetime.
Tool 3: Zip-It tool ($5)
Plastic strip with barbs. For shallow shower/sink hair clogs only. Disposable. Surprisingly effective.
Tool 4: Wet/dry shop vac
For stubborn standing water in a clogged sink or tub. Vacuum out the standing water, then snake.
What works for what
- Hair clog (shower/sink): Zip-It first, then drum snake
- Toilet clog: Plunger first (90% of the time works). Toilet auger if not
- Kitchen sink (grease/food): Hot water + dish soap → plunger → drum snake
- Mainline clog (multiple fixtures backing up): Call a plumber. This is sewer-line territory
Enzyme cleaners (the one chemical that's OK)
Bio-enzyme drain cleaners (Bio-Clean, Roebic) use enzymes to digest organic matter slowly. Safe for pipes. Best for monthly maintenance — not emergencies.
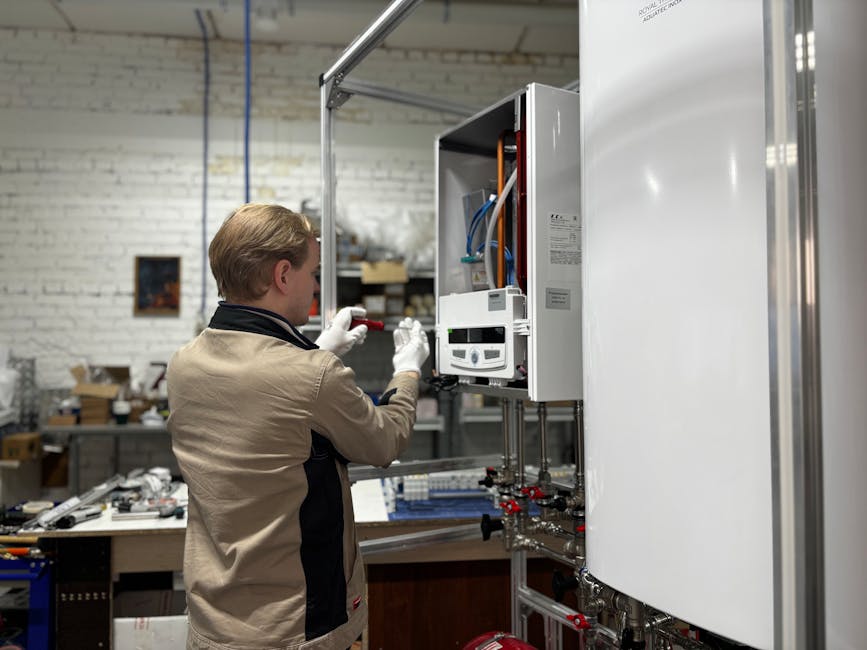
Plumbing
By James Caldwell
·
2026-03-30
·
5 min read

Lifetime cost comparison, energy savings, and the install variables nobody mentions.
Tankless water heaters have a marketing aura of "obviously better." The math is more nuanced. Here's the real comparison.
Tank water heater
Up-front cost: $1,000–$2,200 installed (gas), $800–$1,800 (electric).
Lifespan: 8–13 years.
Annual energy cost: $400–$650 (gas), $500–$700 (electric).
Standby loss: $30–$60/year heating water you're not using.
Tankless water heater
Up-front cost: $2,500–$4,500 installed (gas, simple). $4,500–$8,000 (gas, requires gas line upgrade or new vent). Up to $5,000+ for whole-home electric.
Lifespan: 18–22 years.
Annual energy cost: $300–$500 (gas), $400–$600 (electric).
Annual savings vs. tank: $80–$200/year.
The crossover point
Simple tankless installs (existing 3/4" gas line, exterior wall, near venting) reach payback in 8–12 years. Complex installs (new vent run, larger gas line, electrical upgrade) often never reach payback.
When tankless is right
- You're already replacing a tank (compare both options)
- You have a long shower / large family / often run out of hot water
- You have natural gas service and a relatively easy install path
- You plan to stay 12+ years
- Garage or basement install (frees up space)
When tank is right
- Tight budget
- Existing tank still has 3+ years of life
- You don't have natural gas service
- Complex tankless install (new venting, gas line upgrade)
- You plan to move within 5 years
The hybrid alternative
Heat-pump water heaters (Rheem ProTerra, AO Smith Voltex). 50–70% more efficient than electric tank, no gas required, federal tax credit eligible. Often the highest-ROI choice for all-electric homes.
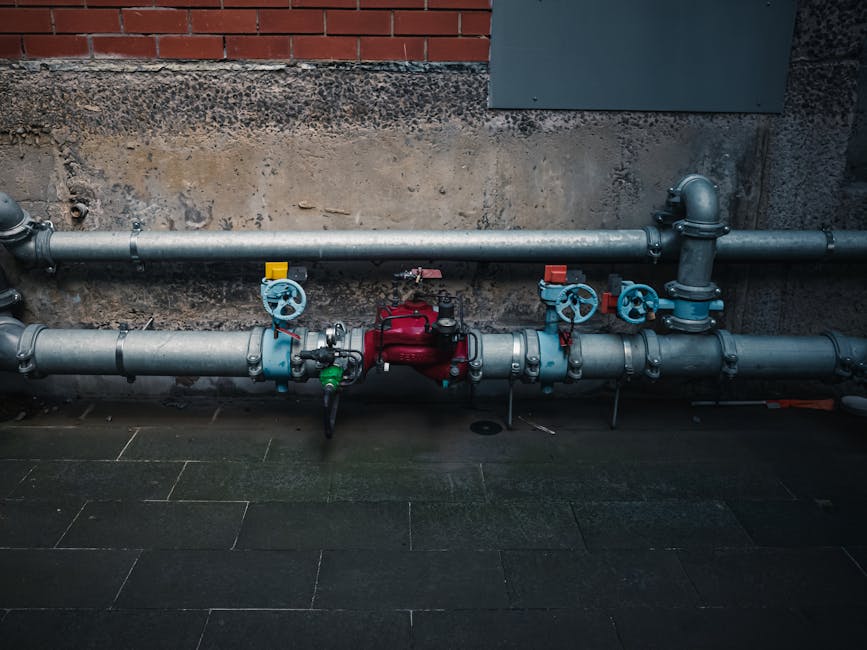
Plumbing
By Linda Martin
·
2026-03-26
·
5 min read

Five-minute walkthrough that saves you thousands when a pipe bursts.
Pipes burst at 2 AM. Toilet supply lines fail mid-vacation. Water heater tanks split open during dinner parties. The single highest-leverage 5-minute homeowner habit is knowing exactly how to shut off your water main — before you need to.
Where the main shutoff usually is
- Slab homes (Sun Belt): Usually inside a garage wall or near the water heater
- Basement homes (North): Where the water main enters the basement, typically the front-facing wall
- Crawlspace homes: Just inside the crawlspace entry
- Outside (warm climates): A meter box at the curb or property line — requires a meter key tool
What it looks like
A valve handle on the main copper or PEX line entering the house. Two common types:
- Ball valve: Lever handle. Quarter-turn to shut off. Best.
- Gate valve: Round handle. Multiple turns to shut off. Older, less reliable — sometimes seized open.
The pre-emergency drill
- Find your main shutoff right now
- Open and close it once (verify it actually works — gate valves often seize)
- Tag it with a label
- Show every adult in the house where it is
- If it's seized, call a plumber to replace ($250–$500). Critical infrastructure.
Bonus: secondary shutoffs
- Toilet supply line (under the toilet — quarter-turn or knob)
- Sink supply lines (under the sink — small ovals)
- Washing machine (behind the machine — often a recessed box)
- Water heater (inlet pipe)
- Outside hose bibs (often have an interior shutoff in the basement/crawlspace for winter)
The lifesaving statistic
Average insurance claim from a burst water heater: $4,500. Average claim if shutoff is reached within 5 minutes: $800. The difference is the entire cost of plumbing for the year.
Plumbing
By Tom O'Connell
·
2026-03-23
·
5 min read

How to know when re-piping pays back, and what to expect during the project.
Whole-home re-piping is a big-ticket project ($3,500–$15,000) most homeowners never need. But for the homes that DO need it, deferring is more expensive than committing. Here's how to know.
When re-piping is required
- You have polybutylene (gray plastic, 1978–1995) — replace within 2–3 years max
- You have galvanized steel and water pressure is dropping
- Multiple pinhole leaks in copper pipes within the same house
- Brown/orange water from internal corrosion
- Old lead solder joints (pre-1986) and you have small kids
When re-piping is optional
- Single isolated leak — patch it, monitor
- Slightly low water pressure but no leaks — possibly fix with new fixtures
- Older copper that's still functioning — can sometimes get 10+ more years
What re-piping actually involves
- Plumber maps existing supply lines (hot/cold to every fixture)
- Cuts access holes in drywall (typically 8–15 holes)
- Runs new PEX through walls, ceilings, and crawlspaces
- Reconnects fixtures one at a time
- Pressurizes and tests
- Drywall repairs (patching, mudding, sanding) — usually NOT painting
Timeline
- Single-bath home: 2–3 days
- 2-bath home: 3–5 days
- Larger home: 5–8 days
Water is off only during connect/disconnect periods (a few hours per day). Houses are livable during the project.
Cost ranges
- 1-bath home: $3,500–$5,500
- 2-bath home: $5,000–$8,500
- 3+ bath home: $8,000–$15,000
What's NOT included usually
- Painting after drywall patches
- Tile repair (if access required tile removal)
- Permits (sometimes — confirm)
- Fixture replacement
Plumbing
By Dana Reyes
·
2026-03-19
·
5 min read
The exact phone script that produces a fair, flat-rate quote — not hourly padding.
Most plumbers will quote flat-rate if you ask the right way. Here's the call script that consistently gets fair, fixed pricing — even from plumbers who default to hourly.
Step 1: Be precise about the symptom
Vague descriptions invite hourly padding. Be specific:
- "My kitchen sink is draining slowly. It's a single sink with a garbage disposal. The drain pipe under the sink is PVC. It started 2 days ago."
- "My water heater is leaking from the bottom. It's a 50-gallon AO Smith electric, about 12 years old. The leak is small but constant."
Step 2: Ask the magic question
"Based on that description, can you give me a flat-rate quote before you arrive? I prefer to know the price up front."
Step 3: Listen for the response
- "Yes — that job is typically $X." Good. Flat-rate plumber. Verify in writing on arrival.
- "It's $X for the typical fix, but I'd want to see it before committing." Acceptable. Confirm you'll get a flat-rate quote before they touch the wrench.
- "I can't quote without seeing it." Sometimes legitimate, sometimes setup for hourly padding. Push: "What's the price range you'd expect?" If they refuse to estimate any range, get another quote.
- "It's $150 service call plus $200/hour plus parts." Hourly model. Fine for diagnostic-heavy jobs (slab leaks, mystery clogs). Bad for known fixes (water heater replacement, faucet swap).
Step 4: Confirm the scope before work
"Just to confirm — you're quoting $X for [specific scope]. If anything outside that scope comes up, you'll stop and re-quote before continuing." This protects you from surprise add-ons.
Typical flat-rate prices (2026)
- Toilet replacement: $250–$500
- Faucet replacement: $150–$350
- Water heater replacement (40-gal gas): $1,200–$2,200
- Garbage disposal replacement: $200–$400
- Main shutoff replacement: $250–$600
- Drain snake (single fixture): $150–$300
- Mainline snake: $300–$700
- Hose bib replacement: $150–$300
Quotes more than 25% above these ranges = get a second opinion.