Bathroom Remodeling
By Dana Reyes
·
2026-04-22
·
5 min read
The line items every honest contractor will give you — and why packaged pricing usually hides 12–18% of padding.
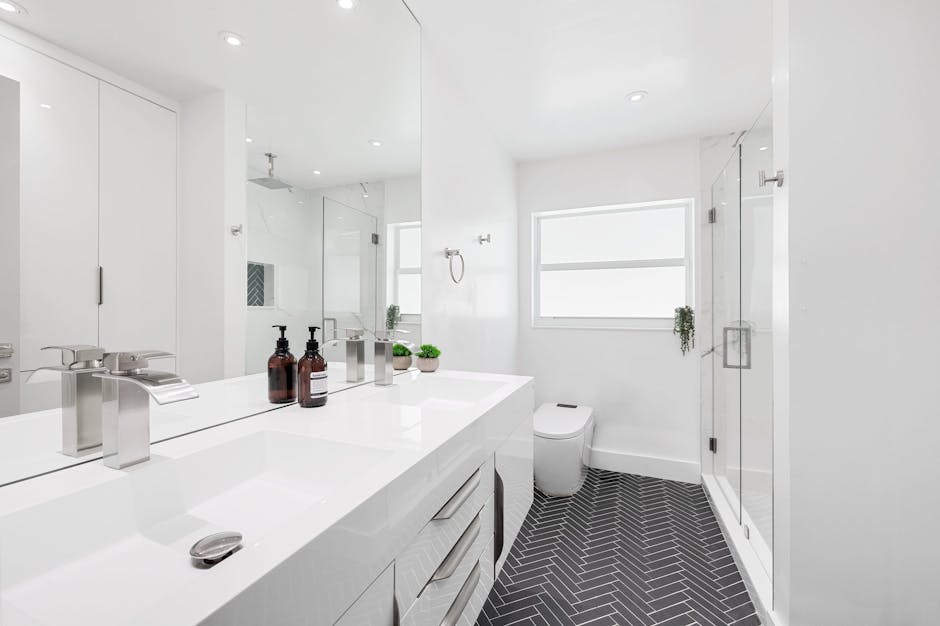
Most bathroom contractors quote "package pricing" — one number, vague scope. That format hides margin and makes apples-to-apples comparison impossible. The fix is a written itemized estimate. Here's exactly what to ask for.
The 12 line items every estimate should have
- Demolition & haul-away
- Plumbing rough-in (if layout changes)
- Electrical rough-in (new lighting/outlets/GFCI)
- Subfloor inspection & repair
- Drywall, cement board, waterproofing membrane
- Tile (floor, wall, accent — separately)
- Tile labor (sq ft, separately from material)
- Vanity, sink, faucet (with brand & model)
- Toilet (brand & model)
- Shower/tub fixture trim (brand & model)
- Glass enclosure (if applicable)
- Permits, inspection, cleanup, disposal
What changes when you ask
When homeowners switch from package to itemized estimates from the same contractor, the total typically drops 8–18%. Why? When line items are exposed, contractors trim padding to stay competitive — especially on tile labor and "miscellaneous."
How to ask without offending
"For my comparison, I'd love to see the estimate broken down by material vs. labor for each major component. Most contractors I'm getting quotes from are doing it that way." Most will accommodate; the ones who refuse are usually the ones with the most padding to hide.
If a contractor refuses to itemize, they're telling you their pricing isn't transparent. Move on.
Bathroom Remodeling
By Linda Martin
·
2026-04-19
·
5 min read
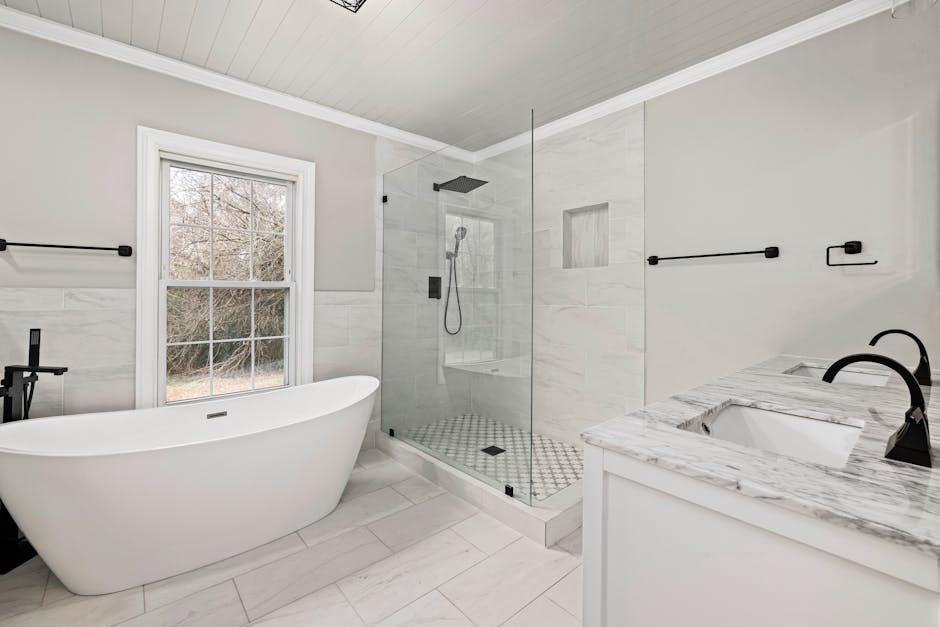
When converting your tub to a walk-in shower makes financial sense, and when it actually hurts resale.
Tub-to-shower conversions are the most-requested bathroom remodel after age 55 — and one of the most over-promoted "1-day install" upgrades. The job itself usually makes sense, but the timing matters more than most homeowners realize.
The financial case for conversion
- Aging in place: a curbless or low-curb shower reduces fall risk dramatically
- Daily use: 80%+ of households over 50 only use the shower
- Energy savings: showers use ~30% less hot water than baths
- Cleaning: glass-and-tile is faster to clean than alcove tubs with surrounds
Where it can hurt resale
Always keep at least one tub in the home. Buyers with young kids will skip a house with no bathtub. If you only have one bathroom, do NOT convert that tub. If you have two+ bathrooms, convert the master and keep the secondary tub.
Real cost ranges
- Acrylic/PVC surround conversion: $4,500–$7,500. Fast (1–2 days). Maintenance-free. Looks acceptable.
- Tile conversion (subway/porcelain): $7,500–$13,000. 5–7 days. Higher resale appeal, more grout maintenance.
- Curbless / zero-entry shower: Add $2,500–$5,000 vs. low-curb. Requires subfloor recess for drain slope.
The "1-day shower" warning
Companies advertising 1-day tub-to-shower installs typically use proprietary acrylic systems sold at 60–80% above what a vetted local tile contractor charges. Real cost: $9,000–$15,000 for what a local pro would do for $5,000–$8,000.
Bathroom Remodeling
By Sara Whitfield
·
2026-04-15
·
5 min read
Cosmetic upgrades that look professionally done but you finish in a weekend.
You don't need a full remodel to refresh a bathroom. These ten DIYs cost under $200 each but deliver $500–$1,200 of professional value.
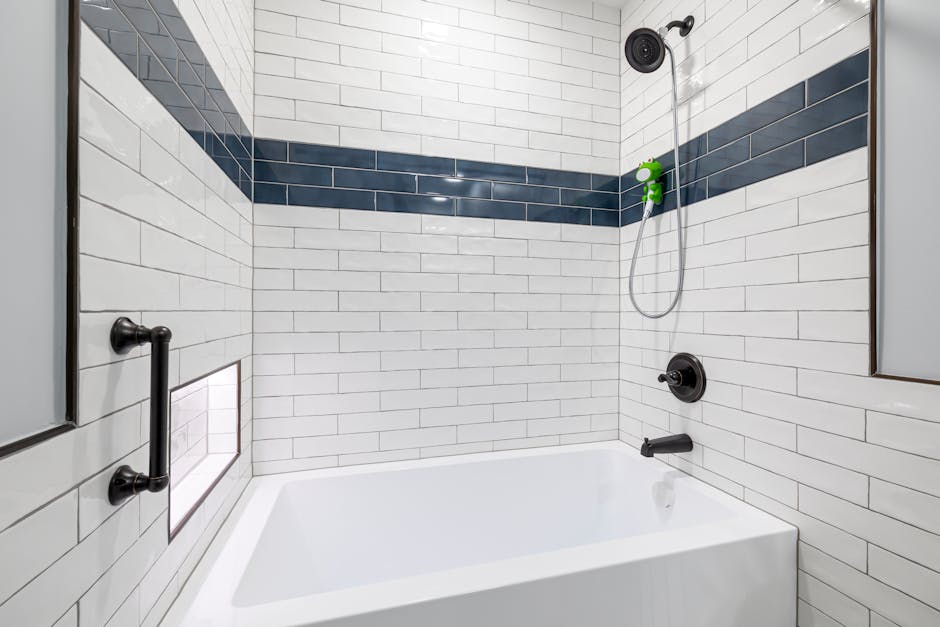
1. Re-caulk the tub and shower ($15)
Strip old silicone, clean with rubbing alcohol, apply fresh 100% silicone bathroom caulk. 60-minute job. Ends mildew, looks new.
2. Replace the toilet seat ($35–$80)
Soft-close, wood or premium plastic. Tools: just an adjustable wrench. 10-minute install.
3. Swap the faucet ($75–$200)
Single-handle modern faucet replaces dated dual-handle. 30-minute job with basic plumbing tools.
4. Replace the vanity light ($60–$150)
Ditch the 1990s "Hollywood bulb" bar with a modern LED fixture. Turn off the breaker, swap, mount.
5. Re-grout floors and walls ($30)
Grout removal tool + premixed grout. Day-long job. Visual transformation rivals re-tiling.
6. Paint the vanity cabinet ($50)
Dark navy or matte black on a tired oak vanity = $1,500 transformation feel. Use cabinet paint with a foam roller.
7. Replace toilet flush valve and flapper ($25)
Stops phantom flushing. 20-minute job. Saves $80–$150/year on water.
8. Add peel-and-stick floor tile ($150)
Modern luxury vinyl peel-and-stick over vinyl or tile. 4-hour job. Lasts 7–10 years.
9. Replace cabinet hardware ($30–$80)
Brushed nickel or matte black knobs and pulls instantly modernize.
10. Replace the showerhead ($30–$80)
Dual-mode rainfall + handheld for under $80. Better water pressure, real comfort upgrade.
Bathroom Remodeling
By Dana Reyes
·
2026-04-12
·
5 min read

The difference between $4 and $14 per sq ft tile, and where it actually matters.
Tile is the most-overpriced category in a bathroom remodel — and the easiest to overspend on. Here's how to navigate it without paying for marketing.
The five tile types you'll encounter
- Ceramic ($1.50–$5/sf): Clay-based. Softer than porcelain. Fine for walls, OK for low-traffic floors.
- Porcelain ($3–$10/sf): Denser, stronger, water-resistant. The default for floors and showers. Modern porcelain mimics marble, wood, or stone convincingly.
- Natural stone ($8–$25/sf): Marble, travertine, slate. Beautiful but porous — needs sealing every 1–2 years. Easy to stain.
- Glass ($10–$30/sf): Mosaic accents only. Don't tile a whole shower in glass — too cold, slippery.
- Cement/encaustic ($12–$25/sf): Designer pattern tiles. Beautiful but require sealing and breakage on cuts is high.
Where to splurge, where to save
- Splurge on: Floor tile and shower wall tile (every shower, every day, last 25+ years).
- Save on: Tile around the toilet and behind the vanity (rarely seen, mostly hidden).
- Splurge on: One designer accent tile — single shower wall, niche, or floor border.
- Save on: Field tile (the bulk tile). Modern porcelain at $4/sf often looks better than $12/sf imported ceramic.
The 80/20 strategy
Pick a quality $4–$6/sf porcelain field tile for 80% of the surface area. Use a $15–$25/sf accent tile for the remaining 20% (one wall, one niche, one floor border). Total tile cost is 40–50% lower than going designer-tile everywhere — and the visual impact is the same or better.
Bathroom Remodeling
By Tom O'Connell
·
2026-04-08
·
5 min read
How to find a quality vanity at half the showroom price.
The bathroom vanity is the most-shopped fixture in any remodel. Pricing ranges from $300 to $4,000 for an outwardly identical-looking 36" cabinet. Here's how to navigate it.
What separates a $400 vanity from a $1,500 one
- Box construction: Particleboard ($) → MDF ($$) → plywood ($$$) → solid wood ($$$$). Aim for plywood box for any wet area.
- Door construction: Slab/MDF ($) → MDF Shaker ($$) → solid wood Shaker ($$$).
- Hardware: Standard hinges ($) → soft-close hinges ($$) → soft-close on every drawer ($$$).
- Countertop: Cultured marble ($) → quartz ($$) → quartz with custom edge ($$$).
- Sink integration: Drop-in ($) → undermount ($$) → integrated ($$$).
The sweet spot
For most homeowners, a plywood-box vanity with MDF Shaker doors, soft-close hinges, and a quartz top runs $700–$1,100 at a vetted local cabinet shop. The same spec at a designer showroom is $2,500+.
Where to actually buy
- Local cabinet shop (best price-to-quality)
- Wayfair / Build / Houzz Pro (decent quality, big variety, watch shipping damage)
- Home Depot / Lowes in-stock (OK quality, fast)
- Avoid: Big-name showrooms unless you want full custom
The undermount sink trap
Undermount sinks need an undermount-rated countertop (quartz or solid surface — not laminate or cultured marble). Many vanity packages advertise "undermount sink" with countertops that aren't actually rated. Confirm before buying.
Bathroom Remodeling
By Marcus Chen
·
2026-04-04
·
5 min read
The seven hidden costs that turn a $12,000 quote into an $18,000 invoice — and how to prevent them.
Bathroom remodels run over budget more often than any other home project. Not because contractors are crooked — but because seven specific surprises rarely show up in the original quote. Catch them upfront and your final invoice tracks the estimate.
1. Subfloor rot
You won't see it until demo. Wet bathrooms quietly destroy subfloor over decades. Plan for $400–$1,200 in repair costs as a contingency.
2. Plumbing code-up
The moment you open a wall, code may require updating drain pipe sizes, adding shutoff valves, or replacing galvanized supply lines. $200–$1,500 surprise.
3. Electrical code-up
Modern code requires GFCI outlets, AFCI breakers, dedicated circuits for vanity heaters, and proper switching. Older bathrooms rarely meet current code. $200–$800 surprise.
4. Tile waste & pattern matching
Patterned or oversized tile generates 12–20% waste. Most quotes assume 10%. The extra 2–10% can mean $200–$600 in additional tile.
5. Mid-project upgrades
The number-one budget-killer. "While you're in there, can you also..." Each request is fair, but they add up. Set a hard upgrade budget at the start and don't exceed.
6. Tile labor underbid
Some contractors quote $7/sf for tile labor when intricate patterns require $10–$14/sf. Confirm pattern complexity is in the labor quote.
7. Permit and inspection delays
Failed inspections add 1–2 weeks AND can require rework. Always have a 15% timeline buffer.
The fix
Build a 15% contingency line into your budget at signing. If you don't use it, great. If you do, it's already accounted for.
Bathroom Remodeling
By Priya Shah
·
2026-03-31
·
5 min read
The five-fixture layered approach pros use to transform tight bathrooms.
Bad bathroom lighting is the most-common reason a $20,000 remodel still feels dated. The fix isn't a bigger budget — it's the right combination of light layers.
Layer 1: Ambient (overhead)
One central flush-mount or recessed light per 15 sq ft of floor. Color temperature 3000K (warm-bright). Aim for 30–50 lumens per sq ft total.
Layer 2: Task (vanity)
Vertical sconces flanking the mirror — NOT a horizontal bar above. Eye-level light eliminates the under-eye shadow that horizontal lights create. Mount 60–66" off the floor, 36–40" apart.
Layer 3: Accent (in-shower)
One IP65-rated recessed light directly over the shower. Bathrooms with shower lights sell faster — buyers notice immediately.
Layer 4: Toe-kick / under-vanity
LED strip under the vanity or floating toilet. Adds nighttime safety + a hotel-suite feel. About $80 in materials.
Layer 5: Mirror backlight
Backlit mirrors (built-in LED behind the mirror) replace traditional task lighting and add a high-end feel. $200–$600 for the mirror.
The dimmer everyone forgets
Each layer on its own dimmer. Total cost: $50 in switches. Total impact: every layer adjustable for shaving, applying makeup, or unwinding in the bath. The single most-skipped upgrade in budget remodels.
Color-temp warning
Don't mix color temperatures. All bulbs should be 3000K (warm bright) or all 2700K (warm). Mixing makes the room feel chaotic and unfinished.
Bathroom Remodeling
By Linda Martin
·
2026-03-27
·
5 min read
Smart investments now that pay off in fall prevention, daily comfort, and resale.
Aging-in-place bathroom design isn't just for retirement homes — it's smart construction for any homeowner over 55, and increasingly desired by buyers across all demographics. Here are the upgrades that actually matter.
Curbless or low-curb shower
Eliminates the highest fall-risk transition in the home. Required slope (¼" per foot to drain) means subfloor work — but the result is universal-design, modern, and visually larger.
Grab bars (the right kind)
Modern grab bars are stainless or matte black, look intentional, and rate to 250 lbs. Mount with blocking behind the drywall. Required locations: by toilet, in shower (vertical + horizontal), at tub edge.
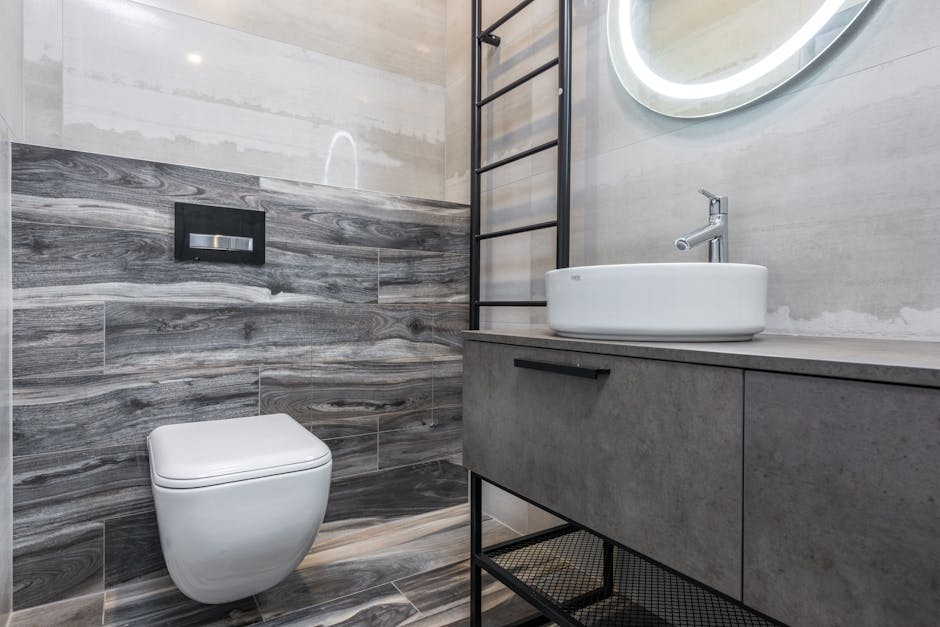
Comfort-height toilet
Standard toilets are 14–15" to seat. Comfort-height (ADA) is 17–19" — easier to sit and stand. About $50 more than standard.
Lever-handle faucets
Single-lever or wide-paddle handles are easier on arthritic hands than knob handles. Cost difference: zero.
Curbless walk-in shower with bench
Built-in tile bench or fold-down teak bench. Adds shaving zone for legs, safety seat, and resale appeal.
Anti-slip floor tile
Look for Coefficient of Friction (COF) ≥ 0.42 wet. Many porcelain tiles meet this; many polished marbles don't. Confirm spec before buying.
Handheld showerhead on slide bar
Adjustable height, removable for seated bathing. Modern designs are spa-quality, not medical-looking.
The investment that pays the most
Lighting layers (see other post). Aging eyes need 2–3x the light a 30-year-old does for the same task — and good lighting prevents fall injuries more than grab bars do.
Bathroom Remodeling
By Sara Whitfield
·
2026-03-23
·
5 min read
A weekend-by-weekend plan that delivers a fresh bathroom without permits or contractors.
Not every bathroom needs $20,000 and a 6-week disruption. If your layout works and the bones are solid, this 5-day cosmetic refresh transforms the room for under $2,000 — fully DIY.
Day 1 — Paint & vanity
Sand, prime, paint walls (semi-gloss for moisture resistance). Paint the vanity cabinet with cabinet-grade paint (Benjamin Moore Advance or Sherwin Williams Emerald Urethane Trim). Total: $120 in materials.
Day 2 — Hardware, mirror, lights
New vanity hardware (knobs/pulls), new towel bars and toilet paper holder, replace the medicine cabinet or mirror, swap the vanity light. Total: $250–$400.
Day 3 — Faucet, showerhead, toilet seat
New single-handle vanity faucet, new dual-mode showerhead, new soft-close toilet seat. Total: $200–$300.
Day 4 — Floor (peel-and-stick LVP)
Premium luxury vinyl peel-and-stick over the existing tile or vinyl floor. 4–6 hours. Looks like wood-plank or stone. Total: $200–$350.
Day 5 — Caulk, grout refresh, accessories
Strip and re-caulk tub/shower, refresh grout with white-out or fresh grout, hang new shower curtain or replace glass doors with a $200 frameless panel, fresh accessories (rugs, baskets, plants). Total: $150–$300.
Total budget
$1,000–$1,800 in materials. Visual transformation rivals a $10,000 contractor refresh. Best for kid bathrooms, secondary baths, or rentals where ROI matters more than wow factor.
Bathroom Remodeling
By Marcus Chen
·
2026-03-19
·
5 min read
The clear line between cosmetic work that doesn't need permits and structural work that does.
Permit confusion costs homeowners thousands every year. Get permits when you don't need them and you waste $300+. Skip them when you do need them and you risk denied insurance claims and resale problems. Here's the clear line.
Permits NOT required (in most jurisdictions)
- Painting, wallpaper, tile-over-tile
- Replacing a faucet, showerhead, or toilet (in same location)
- Replacing a vanity (same plumbing location)
- Replacing flooring
- Replacing light fixtures (same location, same circuit)
- Cabinet hardware
Permits ARE required
- Moving plumbing (toilet, sink, shower drain)
- Adding new electrical circuits
- Removing or moving a non-load-bearing wall
- Tub-to-shower conversion (most jurisdictions)
- Replacing a tub with a different footprint
- Adding heated floors with a dedicated circuit
- Window replacement (in some jurisdictions)
When the contractor pulls the permit
The contractor pulls the permit in their name, takes responsibility for code compliance, and is the one called when inspection fails. This is what you want. If a contractor asks YOU to pull a homeowner permit, that's a red flag — they're avoiding liability.
What inspections actually catch
- Drain pipe sizing & slope
- Vent stack continuity
- GFCI outlets in wet locations
- Proper waterproofing membrane behind tile
- Subfloor adequacy for tile weight
Each of these can fail in 5–15 years and cost $5,000–$30,000 to remediate. The $300–$500 permit fee is cheap insurance.